
How to use Inspect Element for better converting web design
Using Inspect Element for debugging
In this video I’ll show you the basics of how to use inspect element with your WordPress website. Modern web browsers like Google Chrome and Mozilla Firefox have built-in tools that allow developers to debug errors.
In this video we’ll be focusing on the inspect element in Google Chrome to handle our debugging. So the first thing I’ll do is go to my website and say if there’s something I need to change or fix but I’m not really sure where it, is where I can find it then you can use the inspect element.
How to find and open Inspect Element
You can pull up inspect element easily by using the ctrl or command shift I.
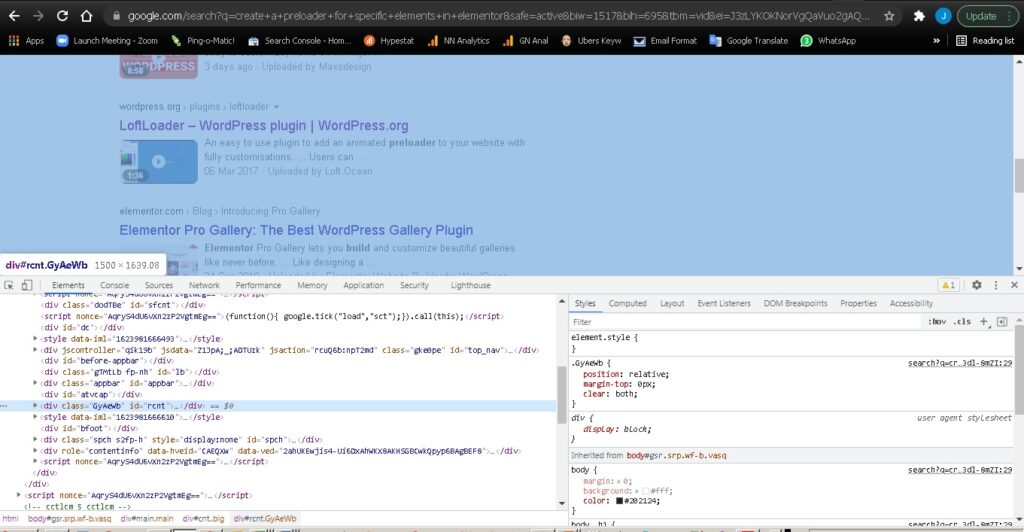
When you use those key combinations you’ll see this area down here. On the left it’s mainly to show you HTML and on the right its concentrating on the CSS that can be found on the website.
Also if you notice as I’m scrolling up with my mouse you see different areas getting highlighted up here. Those are the areas that are specifically being targeted with the inspect element.
One of the best ways to open inspect element is usually if you’re working on a certain area say like this title area I want to change. I’m actually going to right click right there click inspect and the beauty of that is it will come up exactly where I’m wanting to work on.
Navigating and using Inspect Element to debug and preview website changes
Over here you see those little arrows and you can see all the nesting going on and you just want to click through to find the nesting that you’re working with and as you see the entry header and entry title is what we’ll be working with here. So around the left you see the highlighted area and when you click on these areas you also see the right CSS keeps changing.
I’m gonna click back on the entry header here the entry title of my post and just scroll through here a little bit to show you a bit of this. So all of these CSS elements are what’s driving that header and you see here specifically is the entry title and it’s showing the font family and if you want you can deselect this check mark and once I do that you see that it changes the font.
Preview website development changes with the Inspecting Element Tool
As you keep scrolling down you see more items that are using this CSS so how is that useful? As you see over here the class that we’re working on is the entry title and most of the time people want to change the background color or the color of the text and you can play with this to see what would look good before making any changes to your actual theme.
So I’m going to do over here on the right is that click down here so we have a little arrow in a cursor and I want to put in color and you see all the typical CSS elements pop up and just to show the difference. I’m going to put that in blue and I hit my tab so I’m going to start a new one and I’m going to do a background color and as you see again it brings up all the main elements. You can use your arrow keys to select which one you want. I’m going to do background color and we want that one to be red and I’ll click enter.
Conclusion
So this is where you can see where the website design items are being changed but they’re actually not being changed on your server. So this is a great way for you to test things out, find where the issue is if you’re trying to make adjustments to theme, and then once you fix it to how you want it to be you can just go in here and copy those items and then paste them in the theme specific area or the plug-in specific area that you need to. If you’ve messed it up beyond recognition and you just want to start all over you can just refresh your page so I’ll hit f5, refresh my page and it changes everything back to the default that we were working with.